Hurricane season brings with it the potential for devastating storms, and one of the most vulnerable areas of any home is its roof. Severe winds, heavy rains, and flying debris can cause significant damage, leaving homeowners in urgent need of repairs. This blog will guide you through the steps for emergency hurricane roof repair and recovery, ensuring that you’re prepared to protect your home and restore safety after a storm.
Understanding the Risks
Hurricane winds can exceed 100 mph, which can lift shingles, puncture roofing materials, and create leaks. Additionally, debris carried by the wind can cause severe impacts, leading to cracks or holes in your roof. Recognizing the risks associated with hurricanes can help you take proactive measures to safeguard your home.
Preparing Before the Storm
1. Assess Your Roof’s Condition
Before hurricane season begins, conduct a thorough inspection of your roof. Look for missing shingles, rust on metal roofs, and any signs of wear and tear. Addressing minor issues now can prevent larger problems during a storm.
2. Secure Loose Items
Trim back any overhanging branches and secure loose items around your property, such as patio furniture and decorations, that could become projectiles during a hurricane.
3. Create an Emergency Plan
Develop a plan for how to respond if a hurricane strikes. This should include emergency contact numbers, a checklist of items to gather, and a designated meeting place for family members.
Immediate Steps After a Hurricane
1. Safety First
After a hurricane passes, prioritize your safety. Stay indoors until officials declare it safe to go outside. Be cautious of potential hazards, including downed power lines and unstable structures.
2. Inspect Your Roof
Once it’s safe, carefully inspect your roof from the ground with binoculars if necessary. Look for missing shingles, sagging areas, or any visible damage. If the damage seems extensive, it’s best to wait for a professional to assess the situation.
3. Document the Damage
Take clear photos of any damage for insurance purposes. This documentation will be essential when filing a claim, helping you receive the coverage you need for repairs.
Emergency Repairs
1. Stop Water Intrusion
If your roof has leaks, the first step is to prevent further water damage. Use a tarp to cover the affected area, ensuring it’s secured and sloped away from the house to direct water away. If you can safely access the roof, you might use roofing tape or sealant to temporarily patch smaller holes.
2. Secure Loose Shingles
If you notice shingles that are partially lifted or missing, use roofing nails or adhesive to secure them in place. This will help prevent additional damage until a professional can make permanent repairs.
3. Clear Debris
Remove any large debris from your roof, such as branches or fallen trees, but do so cautiously. If debris is too heavy or the roof is severely damaged, it’s best to leave it to professionals.
Hiring a Professional
While emergency repairs can be done by homeowners, hiring a licensed roofing contractor is often the best course of action. Professionals have the experience and tools to safely assess and repair roofs, especially under challenging conditions. When choosing a contractor, consider the following:
- Check Credentials: Ensure they are licensed, insured, and have a good reputation.
- Get Multiple Quotes: Obtain estimates from several contractors to ensure fair pricing.
- Ask About Experience: Look for contractors with specific experience in hurricane damage repairs.
Filing an Insurance Claim
After securing your home and making temporary repairs, it’s time to file an insurance claim. Follow these steps:
1. Contact Your Insurance Company
Notify your insurance provider about the damage as soon as possible. Be prepared to provide details about the storm and the extent of the damage.
2. Submit Documentation
Provide the documentation you collected, including photos and any repair estimates. Keep a record of all correspondence with your insurance company.
3. Follow Up
Stay in touch with your insurance adjuster and follow up on your claim to ensure timely processing.
Long-Term Recovery
1. Complete Repairs
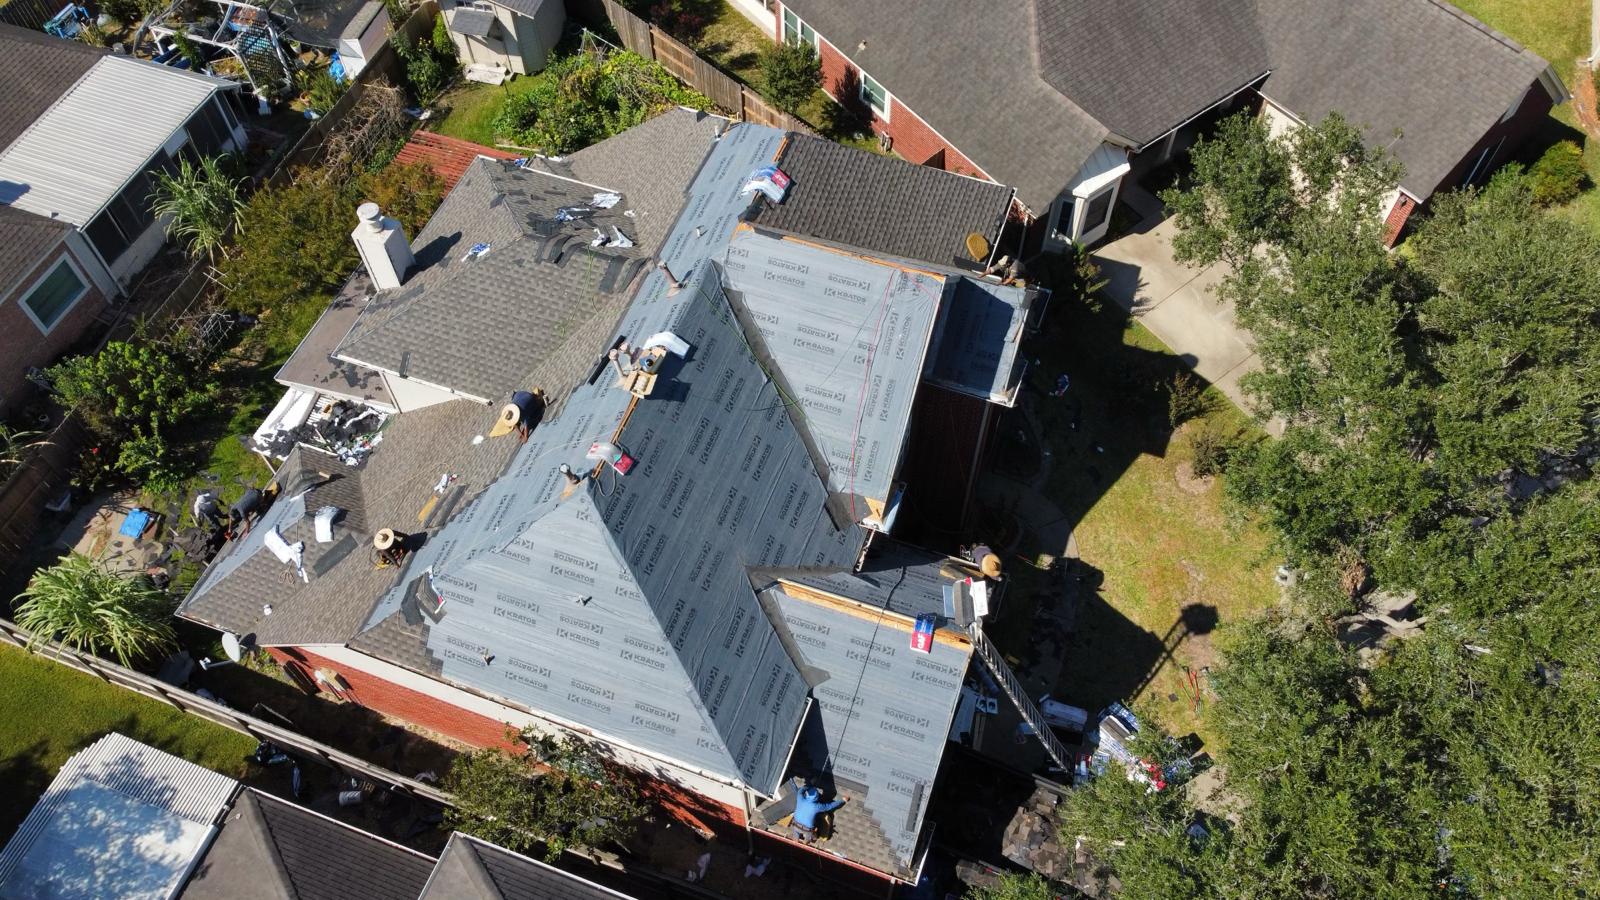
Once your claim is approved, work with your chosen contractor to complete the necessary repairs. This may include replacing shingles, sealing leaks, or even a full roof replacement depending on the damage.
2. Consider Upgrades
When replacing your roof, consider upgrading to more resilient materials designed to withstand hurricanes, such as impact-resistant shingles or metal roofing.
3. Review Your Emergency Plan
After recovery, take time to review and update your emergency preparedness plan. Make adjustments based on lessons learned during the hurricane and consider creating a comprehensive kit with essential supplies.
Conclusion
Hurricane roof damage can be overwhelming, but with the right preparation and immediate response, you can effectively manage repairs and recovery. Always prioritize safety, document damage thoroughly, and seek professional help for repairs. By taking proactive steps, you can protect your home and ensure you’re ready for whatever Mother Nature may bring. Stay safe, and remember that recovery is a process—taking it one step at a time will help restore your peace of mind.